DIY Duck Brooder Water Solution
*This post is part 2 in a series on raising ducks and geese. For part 1 click here.*
Ducks LOVE water. A LOT. They love water so much that they will make a gigantic mess with their water which will soak into their bedding and make your brooder stink to high heaven.
There are a lot of different ways people have found to combat this issue, from creating something to sit the water on to brooding outdoors on the ground where it doesn’t matter so much.
Our ducks and geese are part pets, part farm workers so we wanted a solution that would allow us to brood in the house with minimal mess. That meant building some kind of water catchment system. We wanted whatever solution we went with to be easy, cheap, and work.
One trick is to use a paint roller tray with one of those 5-gallon bucket inserts for paint rollers. This would work great. For about a week until they got too big for the miniscule waterer that would fit on it.
Another method I found in my research was to build a box from wood that is covered in hardware cloth. You can make it whatever size you need which is great when you’re brooding more than 2-3 ducks.
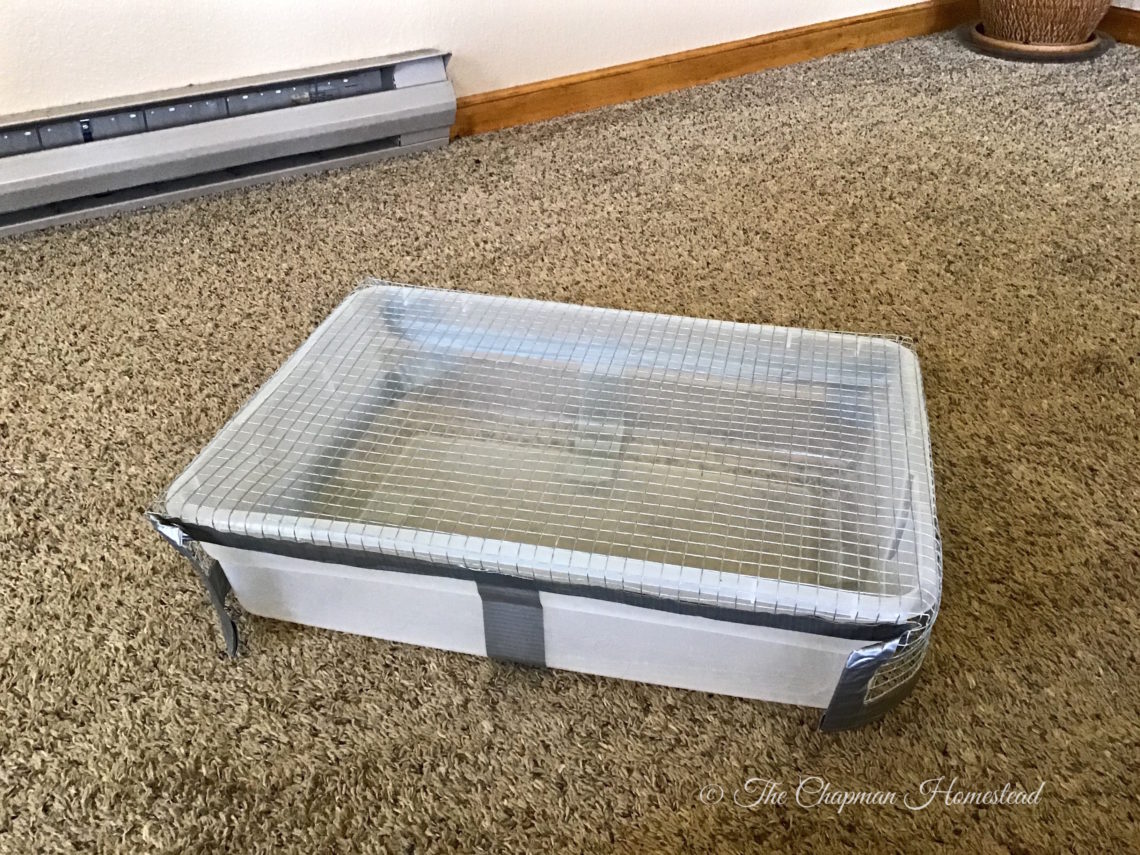
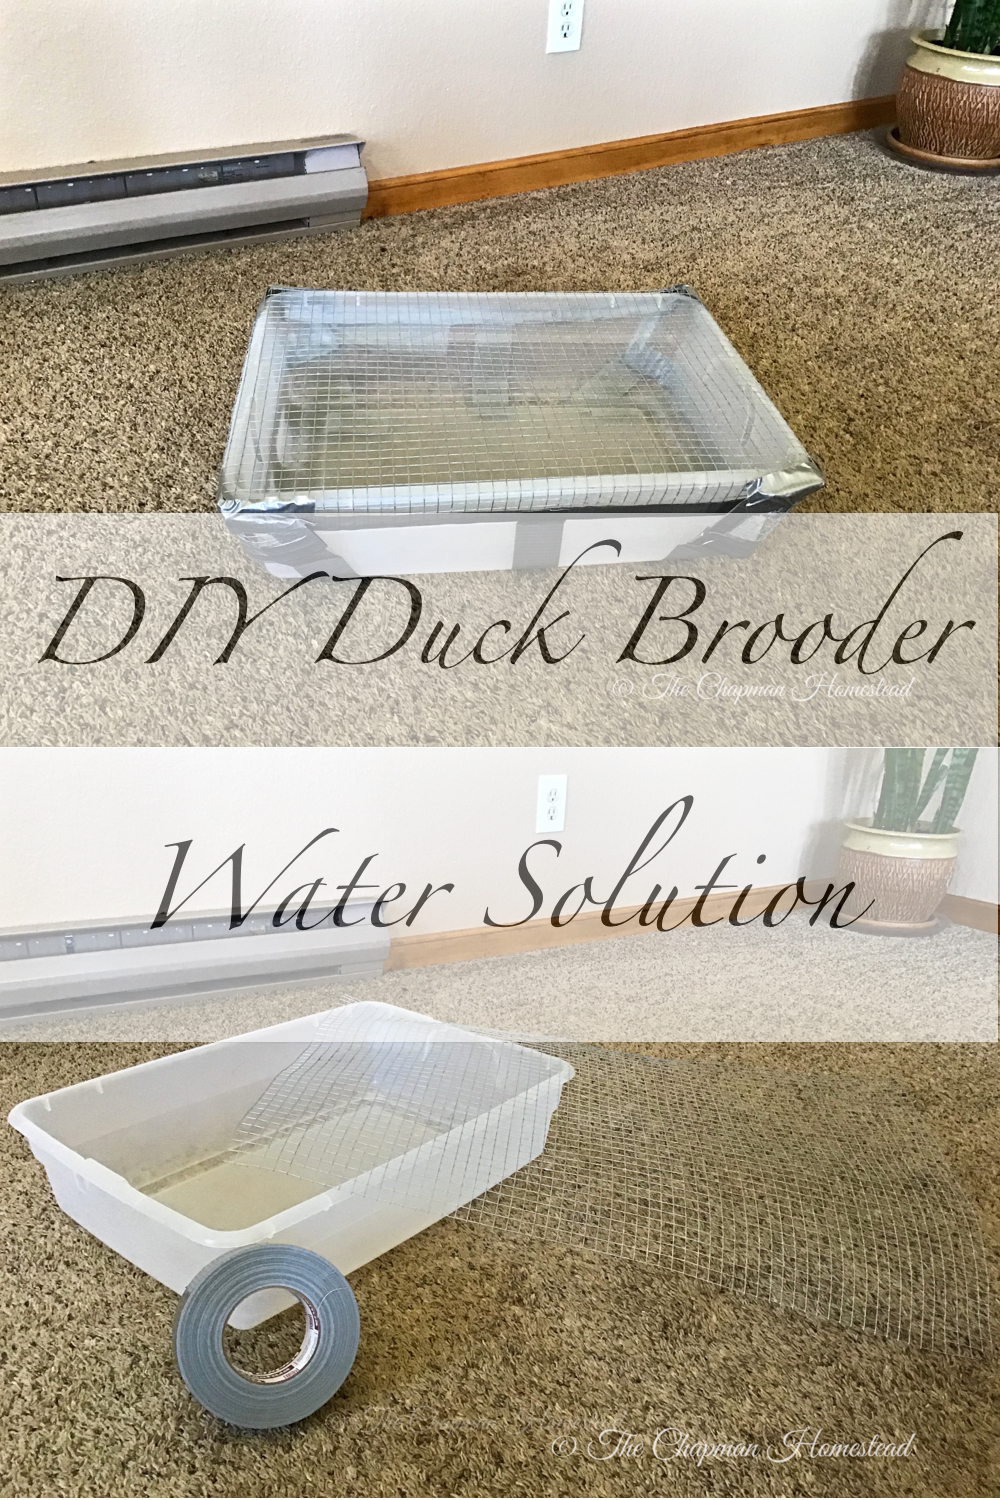
Seeing as there is a pandemic going on, I decided to see if we had anything available around the homestead to create this water catchment system. I found a low-walled storage tub that we had lying around from a failed chicken dust bath experiment. We also had some extra hardware cloth, and heavy duty duct tape (of course!) While it would have been more sturdy to build a wood frame to sit over the tub, what we did ended up working out pretty well. We made some adjustments** that I’ll talk about in step 4.
How to Build a DIY Duck Brooder Water Catchment System
Supplies
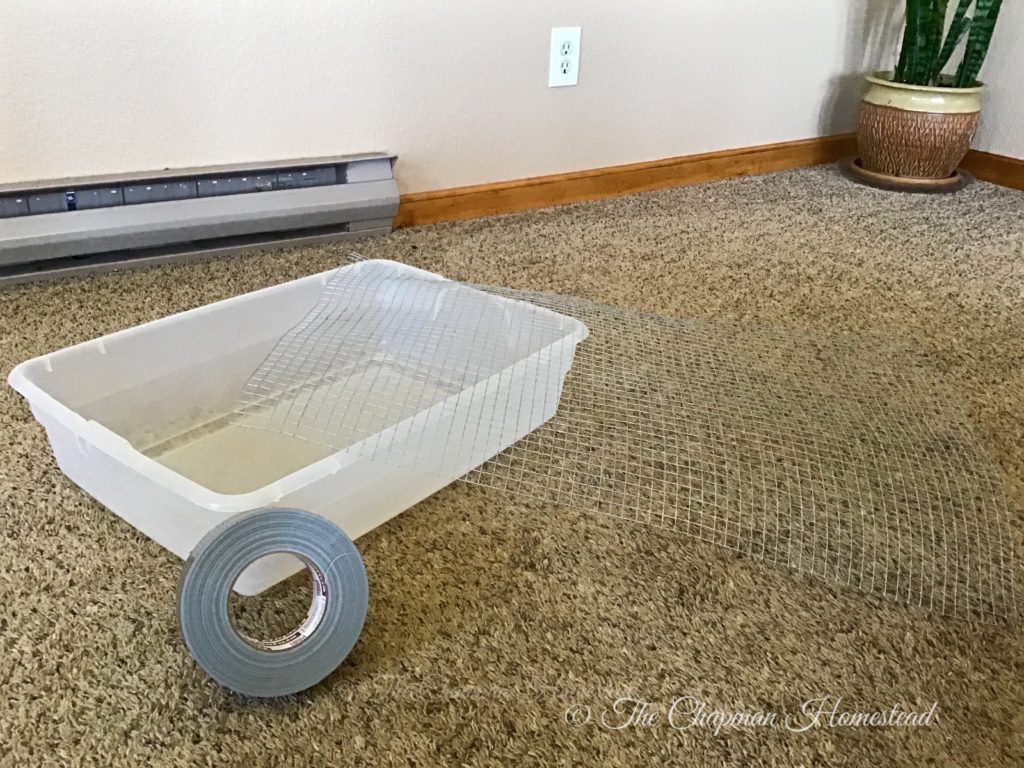
- 1 short walled storage tub (Think small under-the-bed kind. If you don’t have one lying around they’re pretty cheap at your local big-box store.)
- Hardware cloth (I used ½ in because it’s what we had)
- Duct tape (to cover the sharp edges)
- Tin snips or something to cut the hardware cloth
Step 1
Cut the hardware cloth so you have about a 3 inch overage on all sides of your storage tub.
Step 2
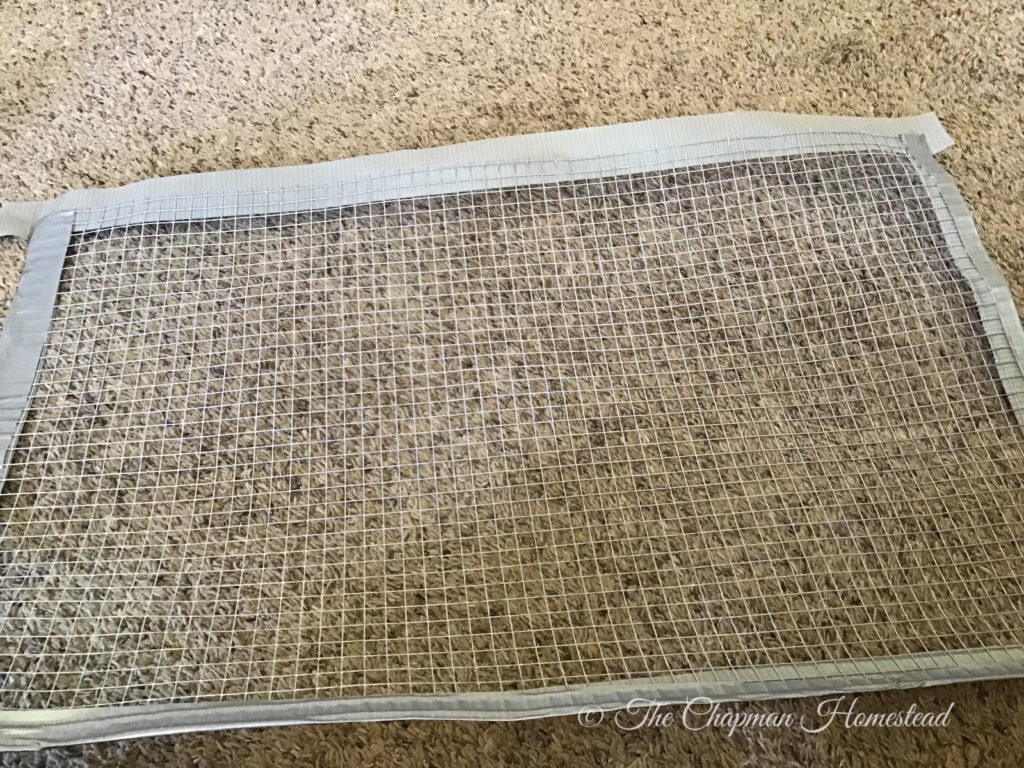
Cover the edges of the hardware cloth in duct tape. I made sure it would fold over to keep bedding from sticking to the tape and from accidentally impaling myself on a sharp edge while cleaning.
Step 3
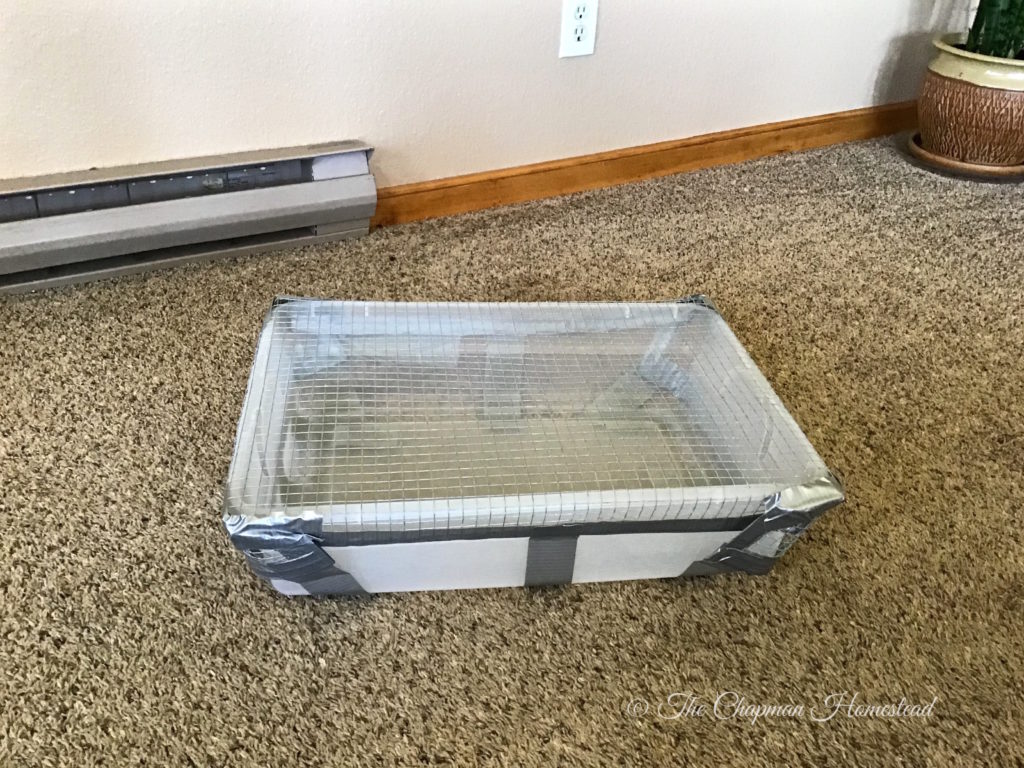
Fit the hardware cloth over the tub and gently fold the sides in to keep the cloth attached to the tub.


Step 4 (optional)
You can use additional duct tape to hold the hardware cloth to the tub.
**I found this was unnecessary the first day I went to dump the water and clean the tub. Even without the extra duct tape the hardware cloth stayed on fine for the entire three weeks the birds were in the house. We did end up adding a 2×6 board over the top to hold the heavier water we gave the birds after the first week.
To clean: Take outside, take cover off, spray everything down

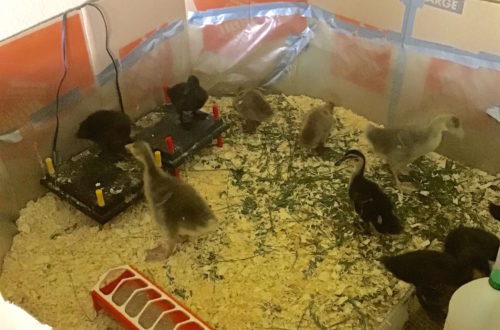
As you can see in the picture we were using a small sliding top feeding trough for their water. You want whatever you put their water in to be large enough for them to get their heads into, but small enough so they can’t get in and drown. When they are babies without a momma duck they don’t have the oils they need to stay dry. It also keeps the mess down. Once their heads got to the point I was afraid they’d get stuck, I upgraded them to two diy gallon jug waterers (directions in a coming post.)
Overall, this method worked really well. The first day, I put their water on the shavings to get them used to it, and oh boy did it get messy fast! I probably had to replace a fourth of the shavings in the brooder that first day due to being SOAKED. We ended up creating a “ramp” with the pine shavings so they could get on top of the tub and that worked out great.
Once we had the water on top of the catchment tub, we had very minimal water mess in the shavings. Overall, this was a simple and effective project.
I’ll see you tomorrow for part 3 – DIY Duckling, Gosling, or Chick Brooder
Incase you missed part 1: Our Decision to get Ducks (and Geese)


3 Comments
Pingback:
Pingback:
Pingback: